
Plastic Surgery Videos
Cosmetic Surgery and Coffee
Welcome to Dr. Shah’s Plastic Surgery Vlog
Episode 1: Becoming a Plastic Surgeon - Cosmetic Surgery and Coffee (The Vlog)
Thanks for checking out my inaugural vlog. I hope you enjoy the things we talk about.

Episode 2: Breast Augmentation - Cosmetic Surgery and Coffee (The Vlog)
Thanks for checking out my vlog. In episode 2, we talk about the health benefits of vitamin C, discuss breast augmentation surgery, and Misti asks me the RealSelf.com Question of the Day. I hope you enjoy the things we talk about.

Episode 3: Tummy Tuck 101 - Cosmetic Surgery and Coffee (The Vlog)
In this weeks episode, Dr. Shah and Misti discuss the ins and outs of the tummy tuck procedure. Of course, Dr. Shah also talks about men’s health hacks and answers the RealSelf.com Question of the Day!
Rhinoplasty Videos
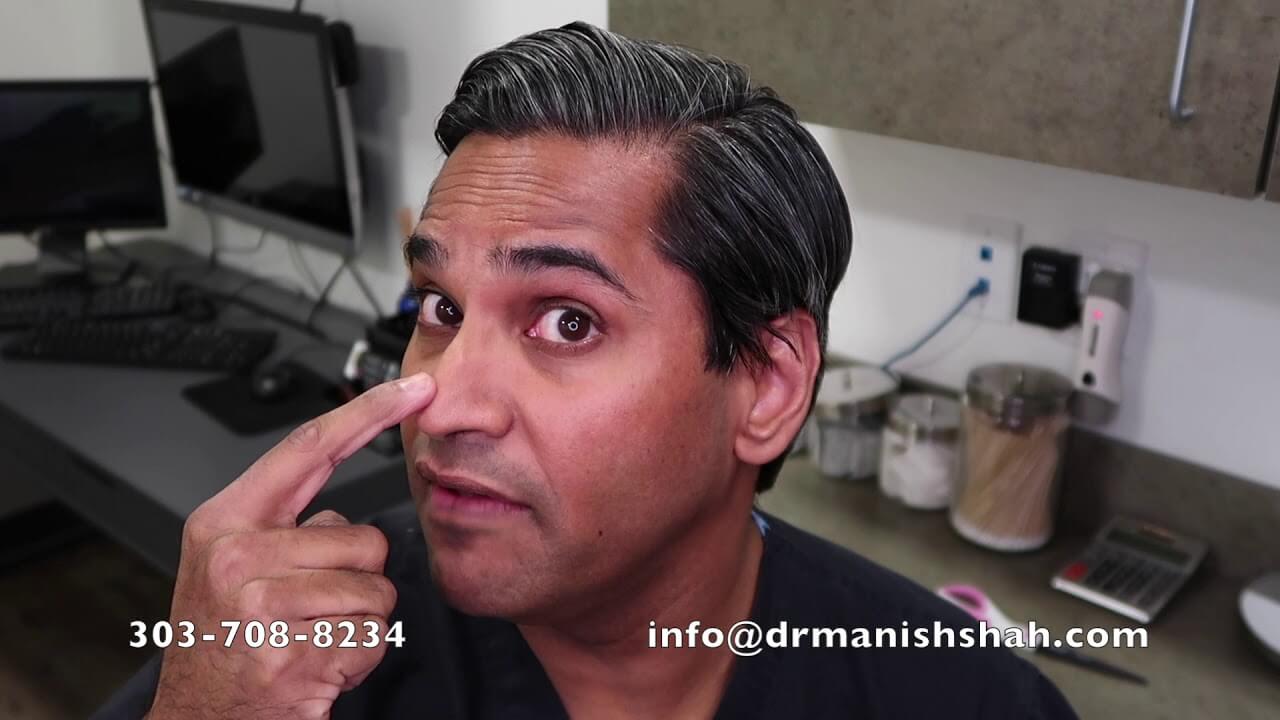
Managing Swelling After Rhinoplasty
Dr. Shah describes how to manage swelling in your nose after rhinoplasty surgery.
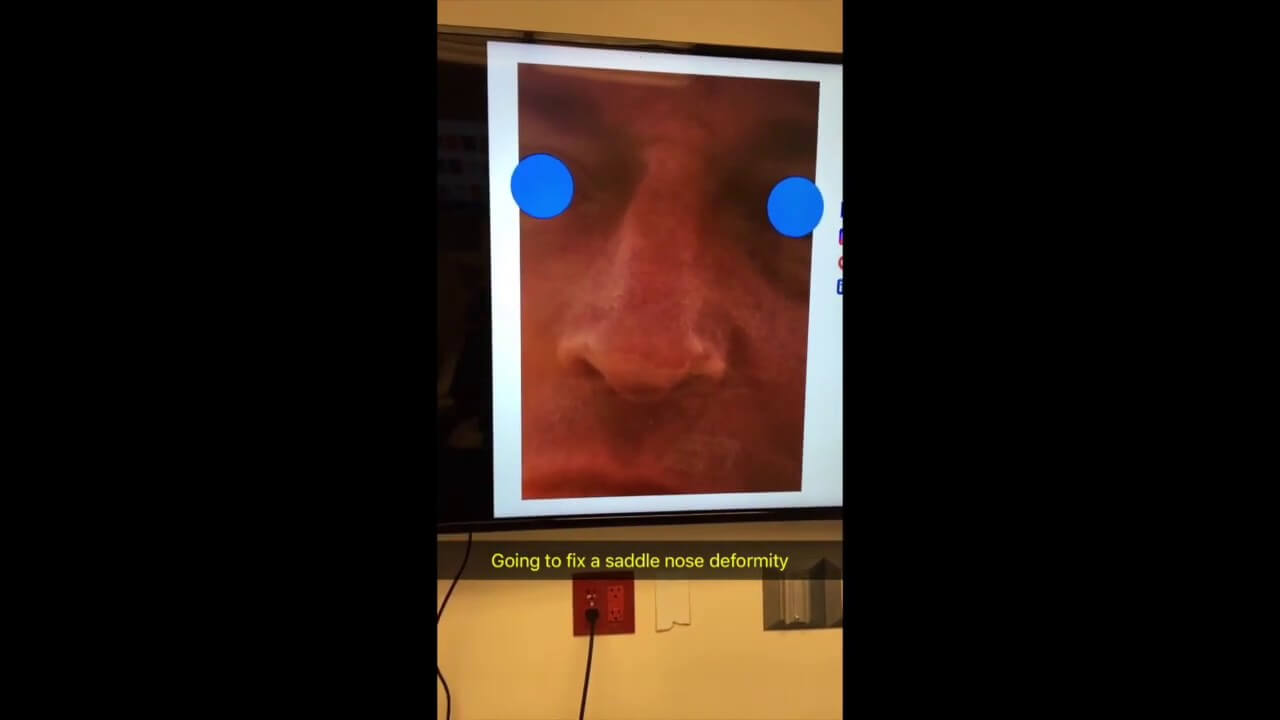
Saddle Nose Deformity Correction with Rib Graft
Watch as Denver rhinoplasty specialist, Dr. Manish Shah, helps a man correct his Saddle Nose Deformity. SND occurs when the septum of the nose is missing or weakened by trauma or infection. Fresh frozen rib graft is used to reconstruct a strong framework for the nose to keep it from collapsing.
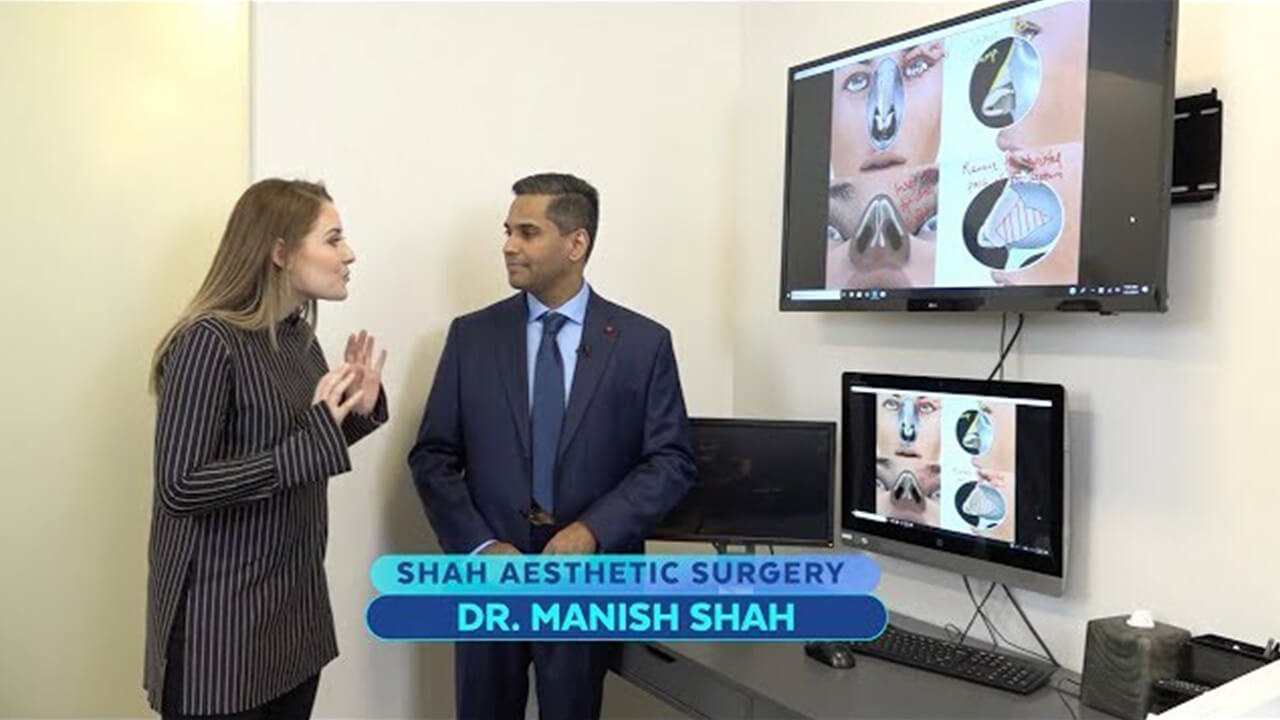
Dr. Shah's Rhinoplasty Episode on Daily Blast Live
Dr. Shah was recently featured on the daytime talk, pop culture, and news show Daily Blast Live and was interviewed by the lovely Stefanie Jones!
Rhinoplasty Recovery - What to Expect? - Denver, CO
Rhinoplasty is the most difficult cosmetic surgery to perform. It is important to be prepared for the nearly one year long recovery. Dr. Shah discusses what you need to understand about rhinoplasty recovery in this video.
Non Surgical Rhinoplasty (Nose Job)
Non-surgical rhinoplasty is a specialty of Dr. Shah’s. This video gives patients some insight into how non-surgical rhinoplasty in Denver can help improve the look of their noses.
Cost of Rhinoplasty (Nose job) - Denver, Colorado
Rhinoplasty is the most difficult procedure in cosmetic plastic surgery. Dr. Shah is a specialist in Rhinoplasty surgery, including the most difficult of all procedures, Revision Rhinoplasty. Shah Aesthetic Surgery in Denver, Colorado is a boutique private practice that specializes in cosmetic surgery of the face, breasts, and body.
Asian Rhinoplasty - Revision Rhinoplasty - Denver, CO
Today’s case is that of a 30-something year old Thai female who’s had four previous rhinoplasty procedures. She currently has a silicone implant and actual injected silicone in her nose and she’d like more projection and a better look to the dorsum of the nose.
Rhinoplasty - Nose Surgery - Denver
This is a recent story from my Snapchat @rhinoplastyjedi in which I am filmed performing a rhinoplasty procedure on a patient. She wanted the hump on her nose smoothed out, and the tip shape improved.
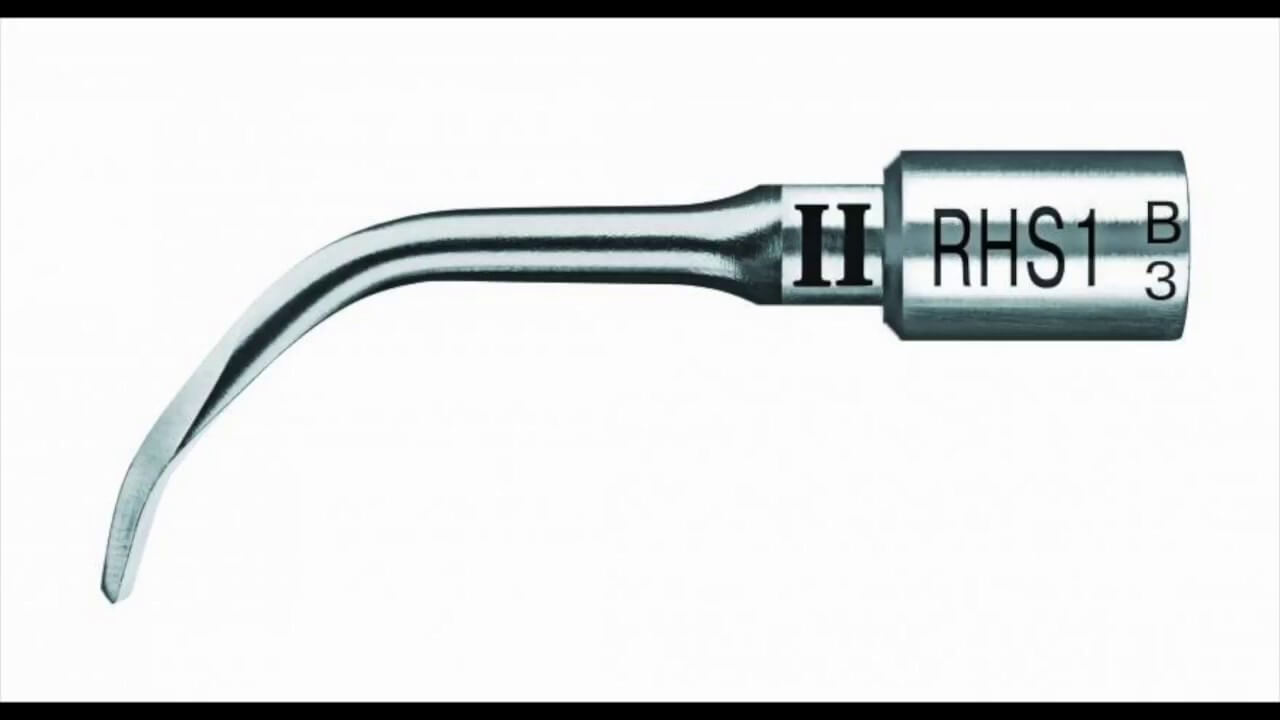
Ultrasonic Rhinoplasty - Using Sound Waves to Reshape Your Nasal Bones
In this video, Dr. Shah is performing Ultrasonic Rhinoplasty. It is the newest innovation in nasal reshaping surgery. Dr. Shah uses soundwaves to remove the nasal hump and narrow the nasal bones in a more gentle way. The result is a better looking nose with less bruising and swelling.
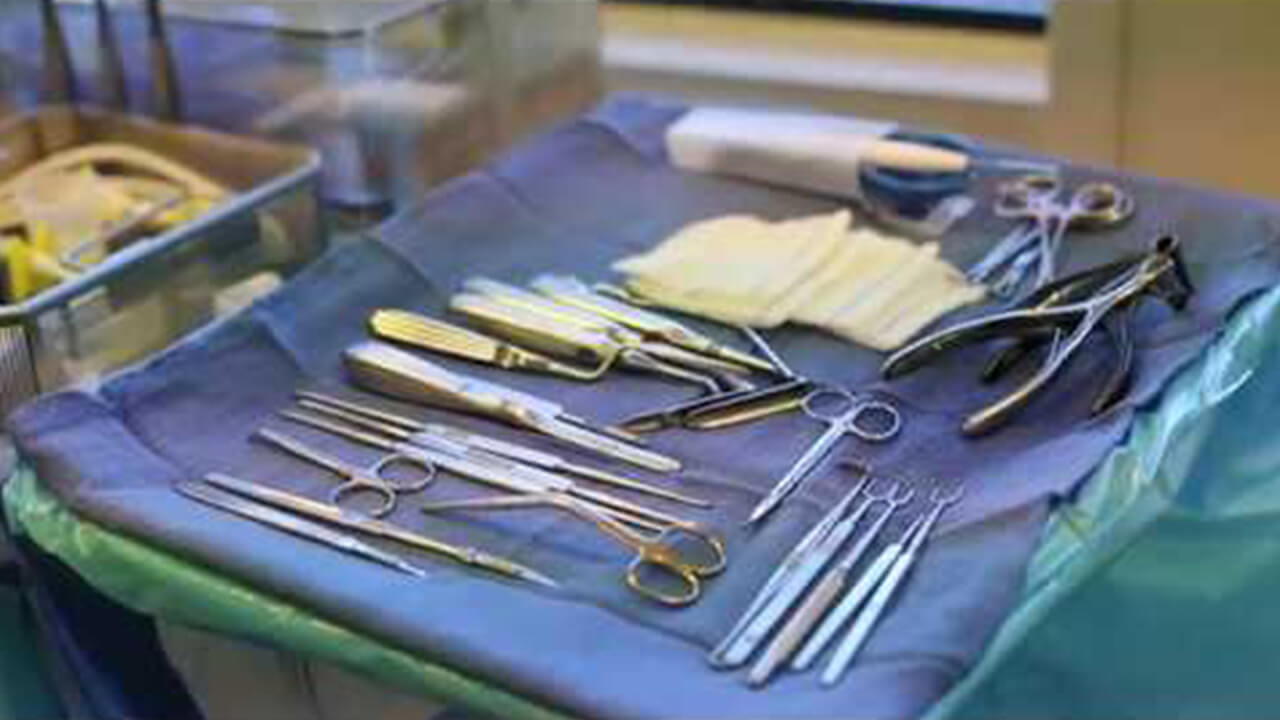
Ultrasonic Revision Rhinoplasty - How I Do It
In this video, Dr. Manish Shah, Denver board-certified plastic surgeon and rhinoplasty specialist, performs revision rhinoplasty using the Comeg Medical Piezotome M+ Ultrasonic Rhinoplasty device. Dr. Shah is the only surgeon in the Mountain West who has this state of the art tool.
Face Videos
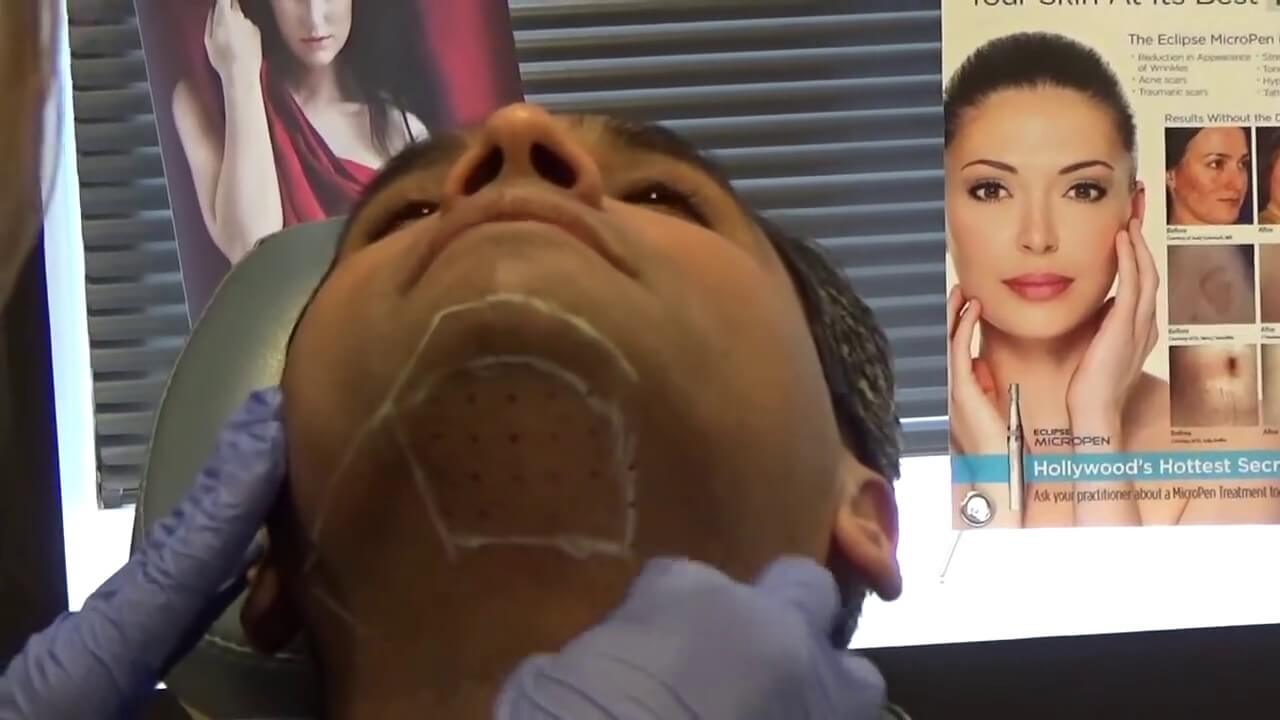
Fat Melting Shot Denver - Watch Dr. Shah get the fat melting shot everyone is talking about!
Dr. Manish Shah of Shah Aesthetic Surgery in Denver, Colorado gets the Kybella by Allergan shot to melt the little fat pad under his chin. Oh, the dreaded double chin! No one likes it in the least! This procedure is minimally invasive and is easy to tolerate. Other than some moderate swelling and mild tenderness, the recovery is easy.
Venus Viva Radiofrequency (RF) Microneedling
Dr. Manish Shah of Shah Aesthetic Surgery in Denver, Colorado demonstrates a multi-pass treatment of RF microneedling to the perioral (mouth) area of a woman in her 50’s. He is using the state of the art Venus Viva by Venus Concept.
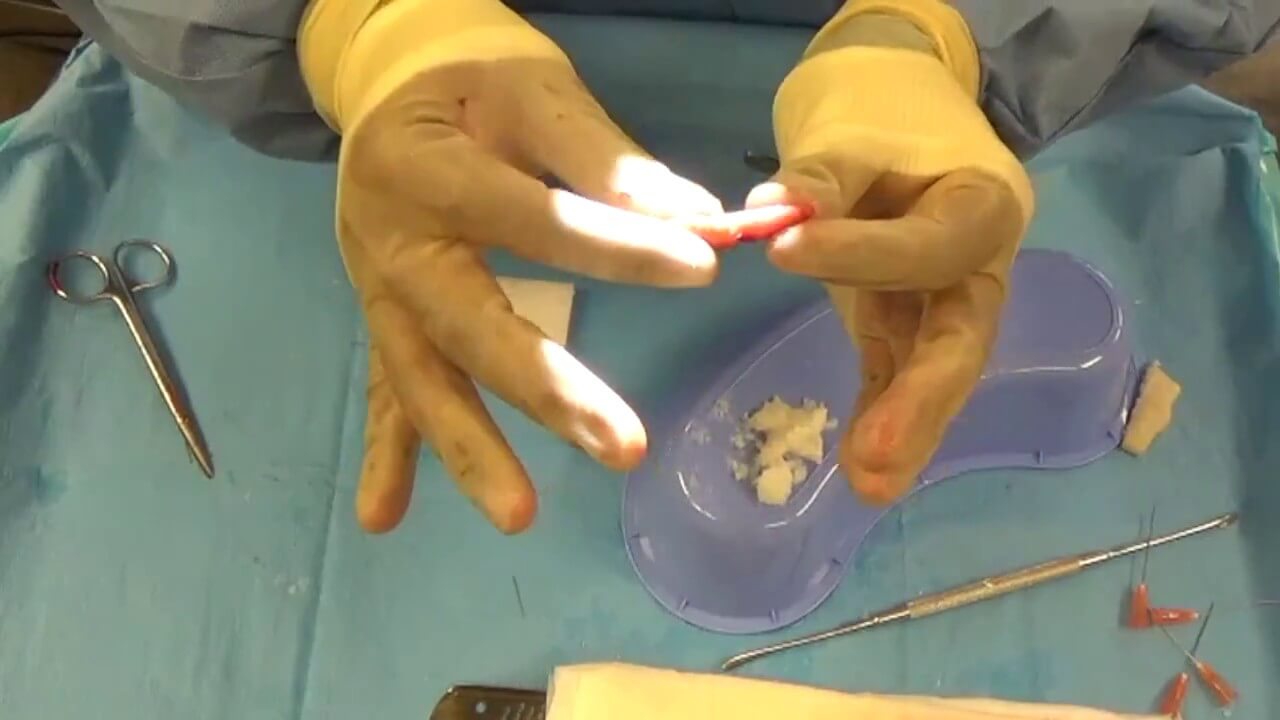
Shaved Cartilage Fascia (SCF) Graft Creation - Plastic Surgery Hacks for DCF Graft Creation
This is a technique video for rhinoplasty surgeons and patients alike who want to learn how I augment the bridge in patients who want a taller bridge. This procedure is great for Ethnic Rhinoplasty patients who want more definition in their nasal shape.
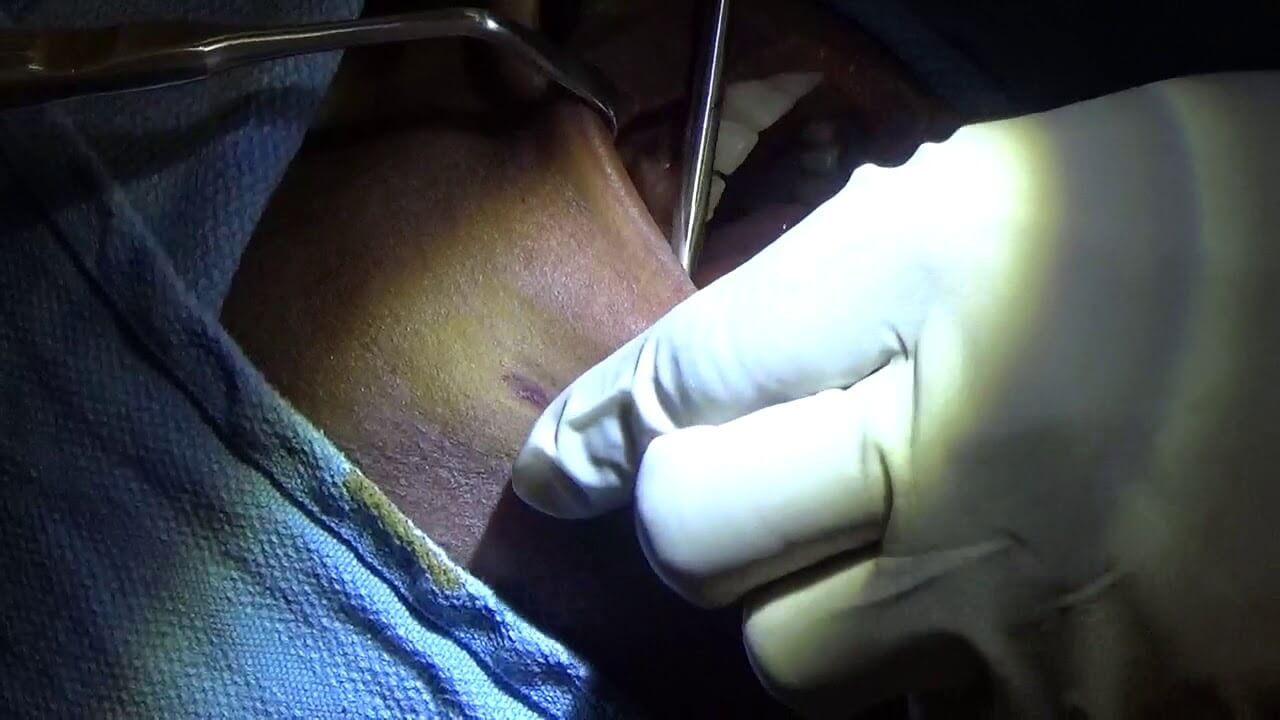
Dimple Creation Surgery - Dimpleplasty
In this video, I create a new dimple for a young woman. The procedure is performed using just local anesthetic.
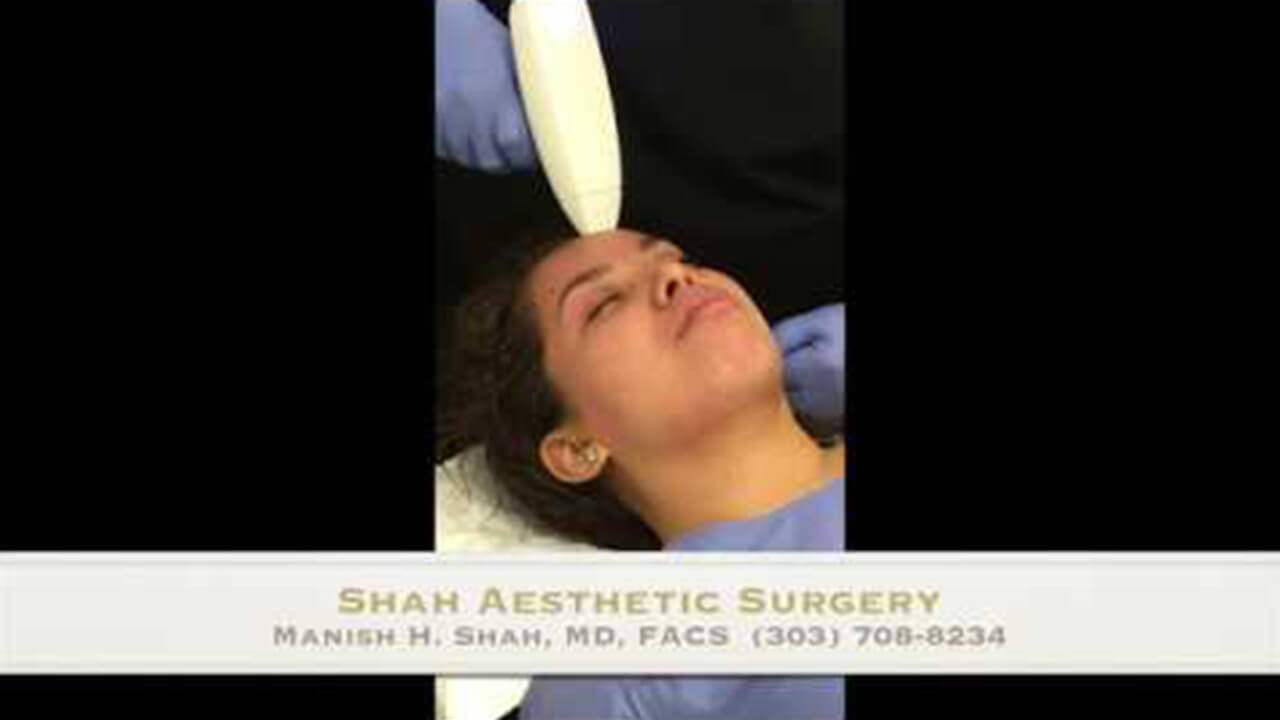
Venus Versa - Venus Viva RF Microneedling
Watch as my patient coordinator, Brenda, gets a full face RF microneedling treatment to treat acne scars and surface texture issues. I am a big fan of the Venus Versa platform for non-invasive facial and body aesthetic.
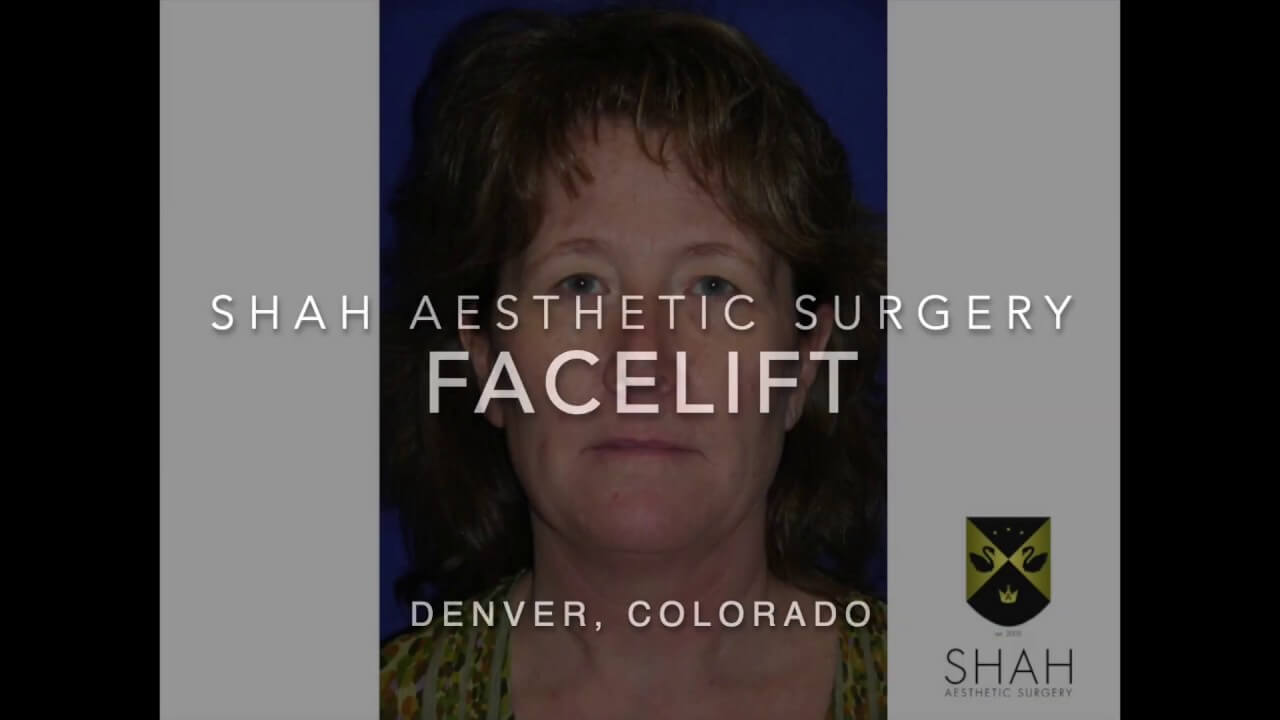
Facelift Denver - Natural Results from Shah Aesthetic Surgery
This video shows just a handful of results from my list of over 3000 facelifts performed since 2007. I strive to provide natural results that aren’t overdone. I avoid the pulled look at all costs!
Skin Videos
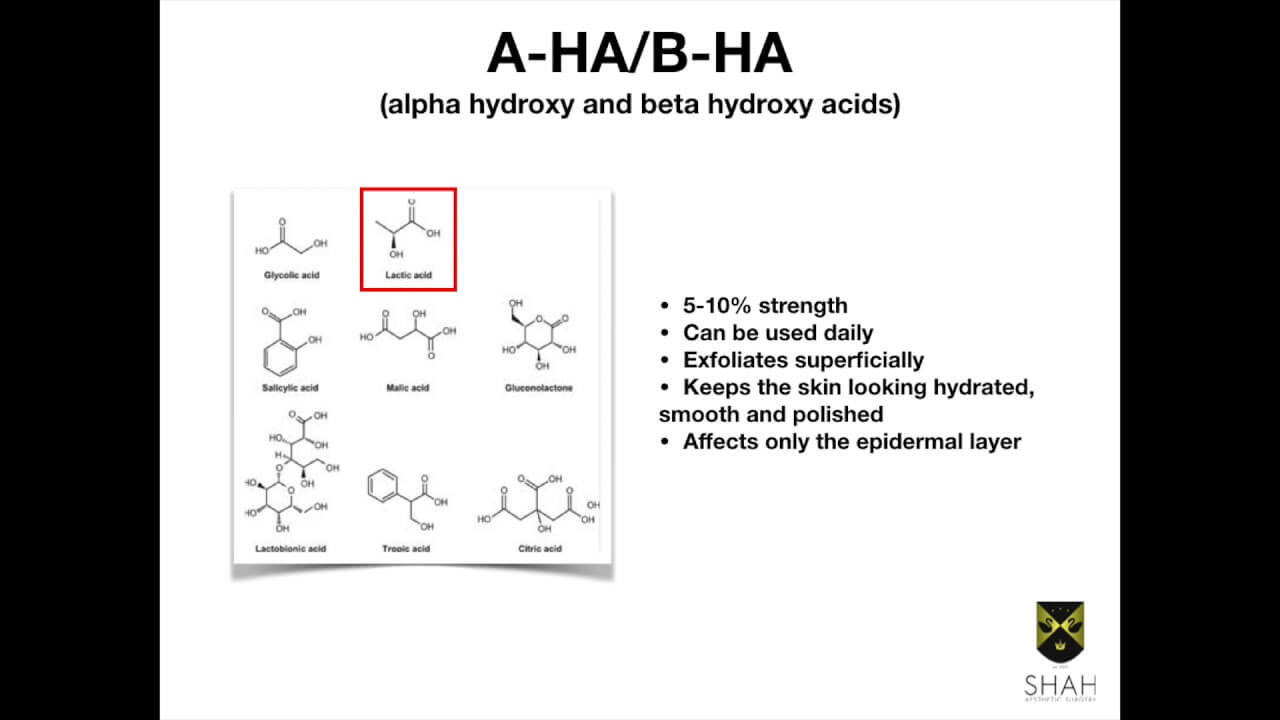
Dr Shah Discusses Chemical Peels (Superficial Exfoliants)
In this video I talk about the simplest of chemical peels, the superficial exfoliants. AHA/BHA (alpha/beta hydroxy acids) and Retinoids are examples of topical treatments in the class.
Fixing Dry Skin
Fixing dry skin
Injectable Videos
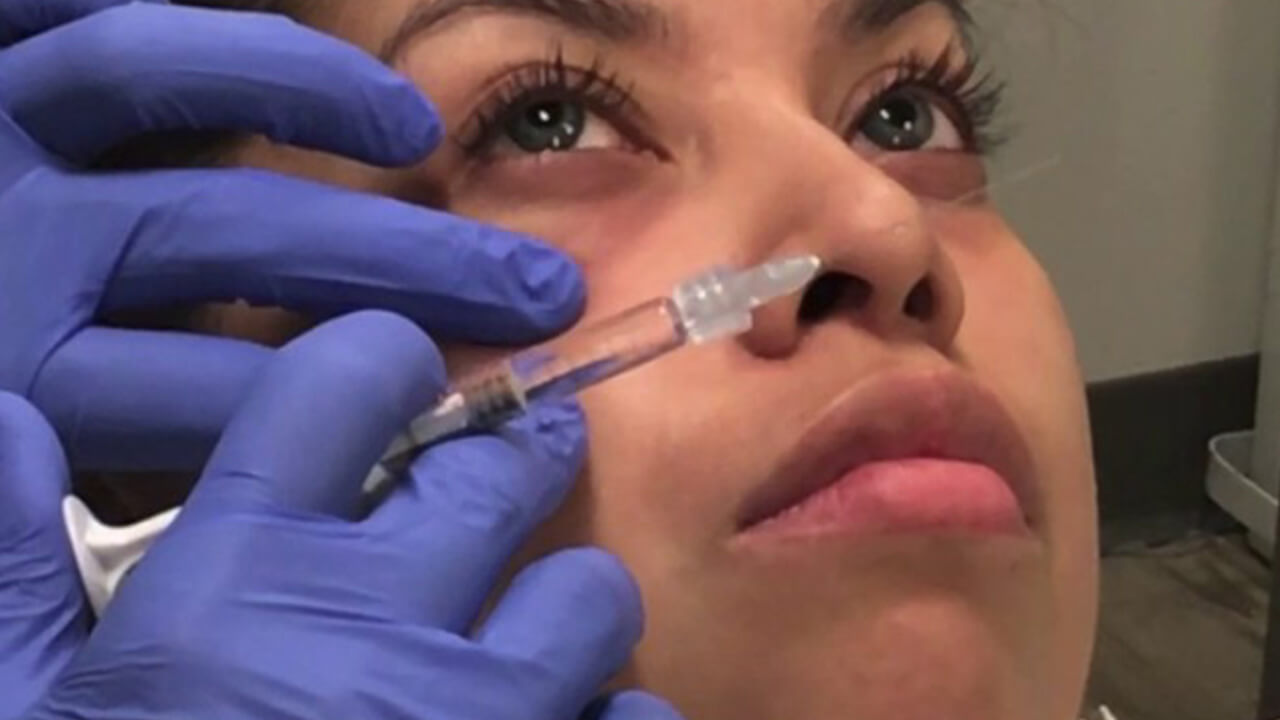
Belotero Injections to Correct the Tear Trough Hollow
Belotero is a hyaluronic acid injectable filler made by Merz that is used to fill fine lines and wrinkles of the face. Injections of HA filler to the tear trough are off-label by FDA standards. They should only be performed by trained medical professionals like myself. – Dr. Shah
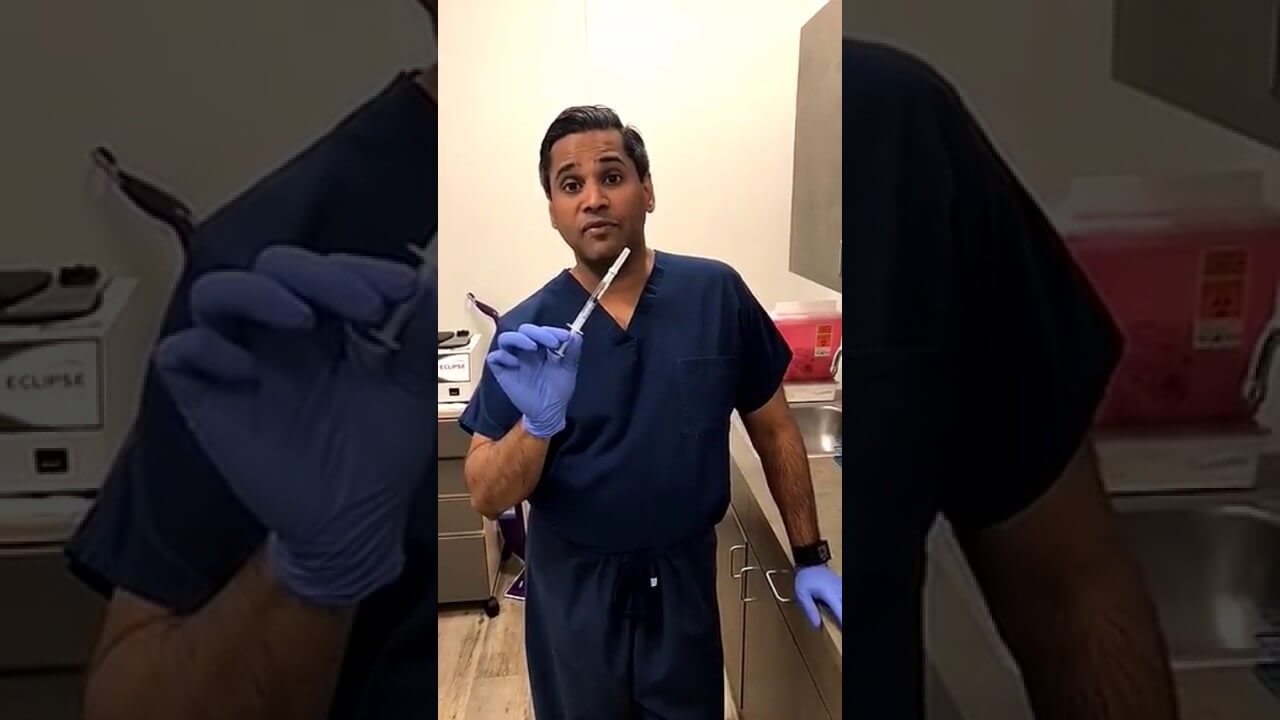
Restylane Refyne and Defyne Injections
These two new hyaluronic acid injectable fillers from Restylane have a more flexible structure that allow them to move. The result is a less stiff appearance after injection. Dr. Manish Shah is a board-certified plastic surgeon in Denver who is an expert injector.
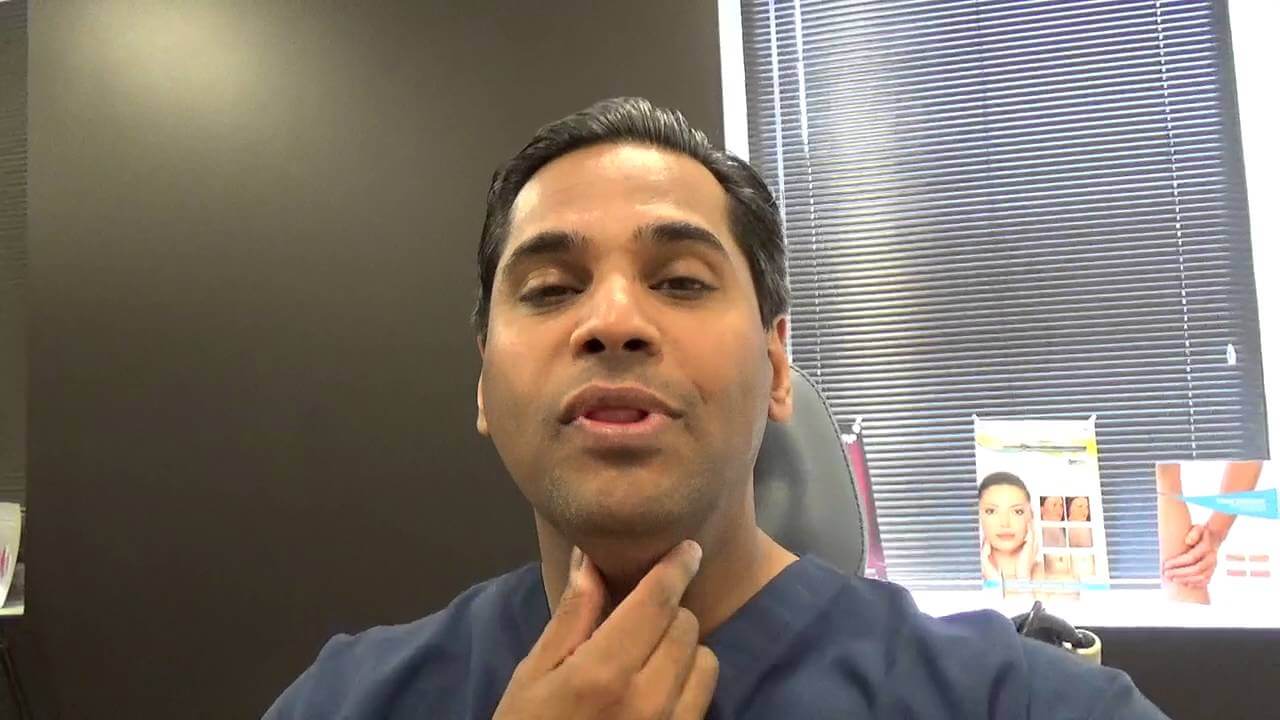
Kybella Denver 24 Hour Results - Dr. Shah Vlog
Take a look at my 24 hour results after my 1st Kybella injection to melt the fat pad under my chin.
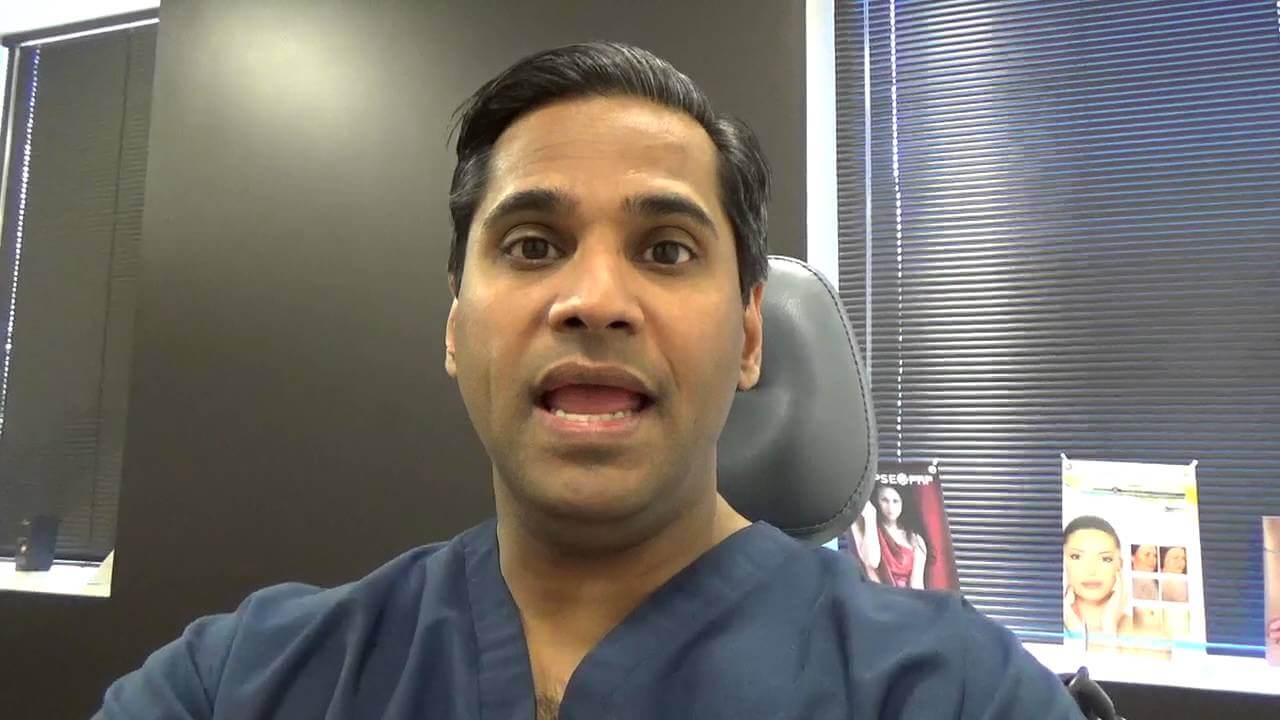
Kybella 2 Weeks Vlog - Denver - Shah Aesthetic Surgery
In this Vlog about my #Kybella experience, I describe my results so far at the 2 week mark.
Body Videos
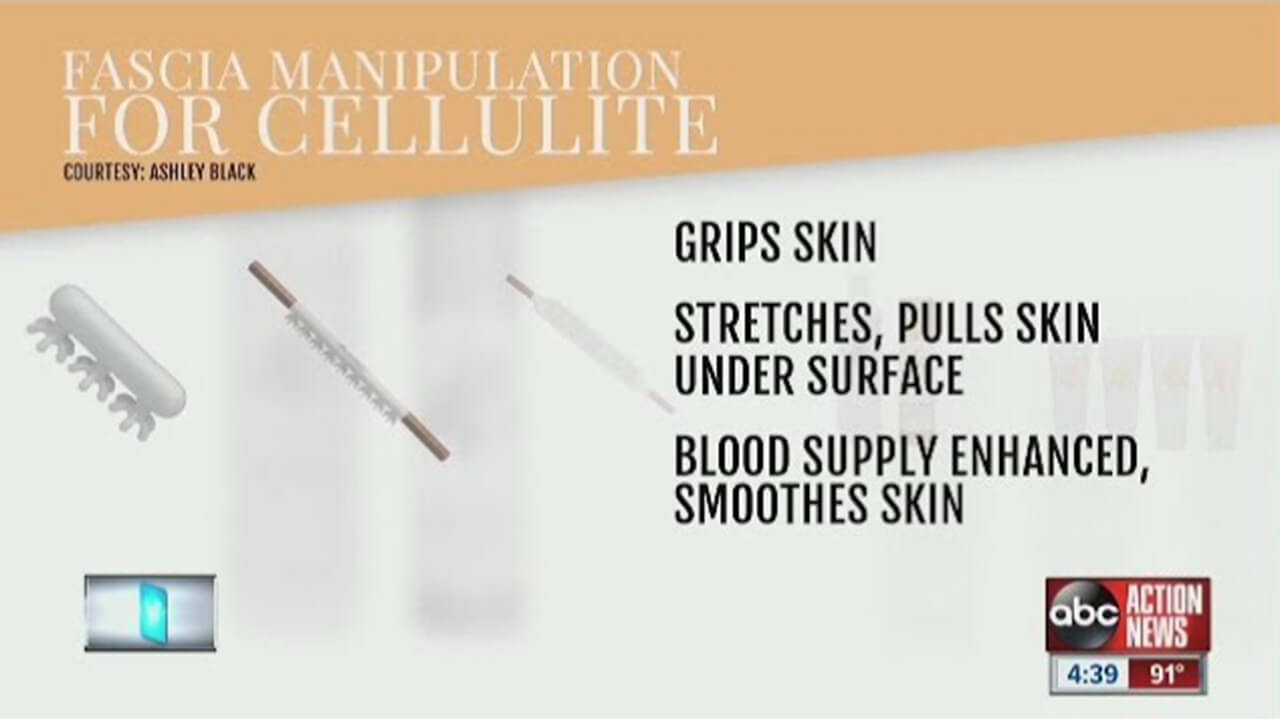
What Actually Works for Cellulite
Board certified plastic surgeon Dr. Manish Shah weighs in on a device recently studied that was proven to improve the appearance of cellulite.
General Plastic Surgery Videos

Social Media & Filters Changing Perception on Cosmetic Surgery
Board Certified Plastic Surgeon Dr. Manish Shah weighs in on a new study that suggests some young women using certain photo filters and social media websites have lower self esteem and were more open to the idea of cosmetic surgery.
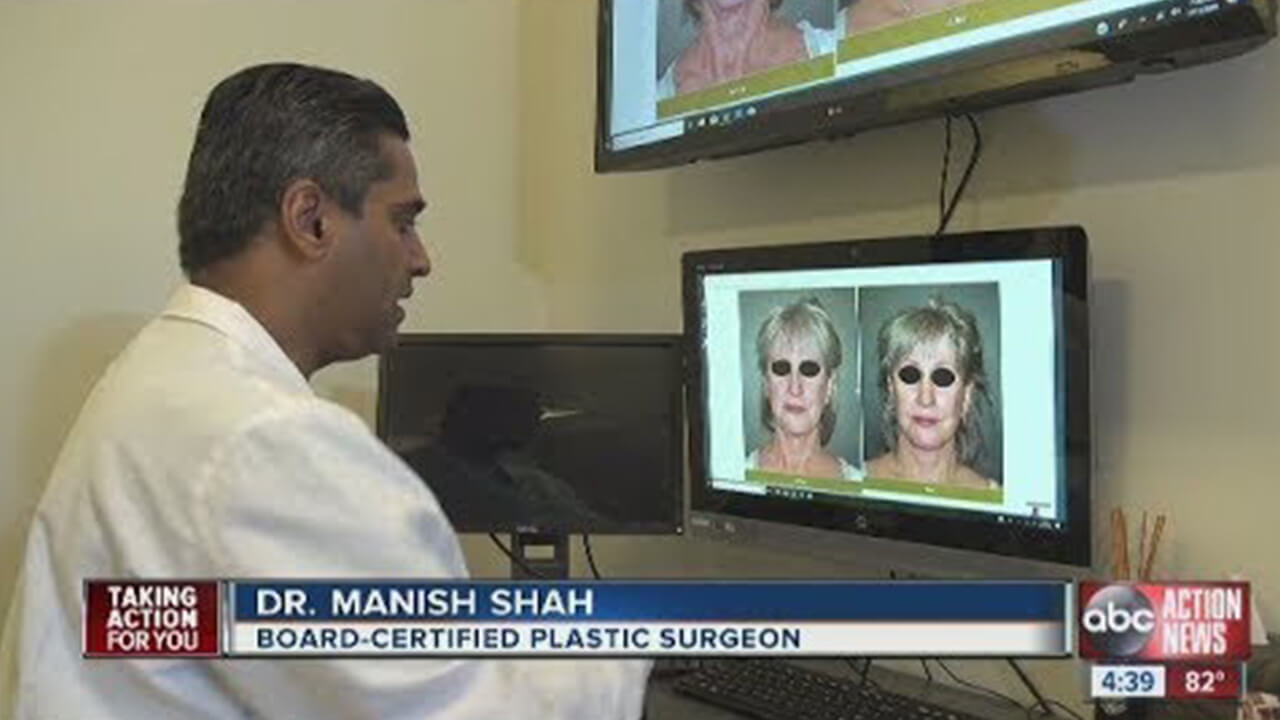
More Baby Boomers Getting Plastic Surgery
The American Society of Plastic Surgeons says they’re seeing an increase in the number of people 55 and older seeking cosmetic surgery. Dr. Manish Shah a Board-Certified Plastic Surgeon based in Denver talks about the procedures and purpose behind the increase.
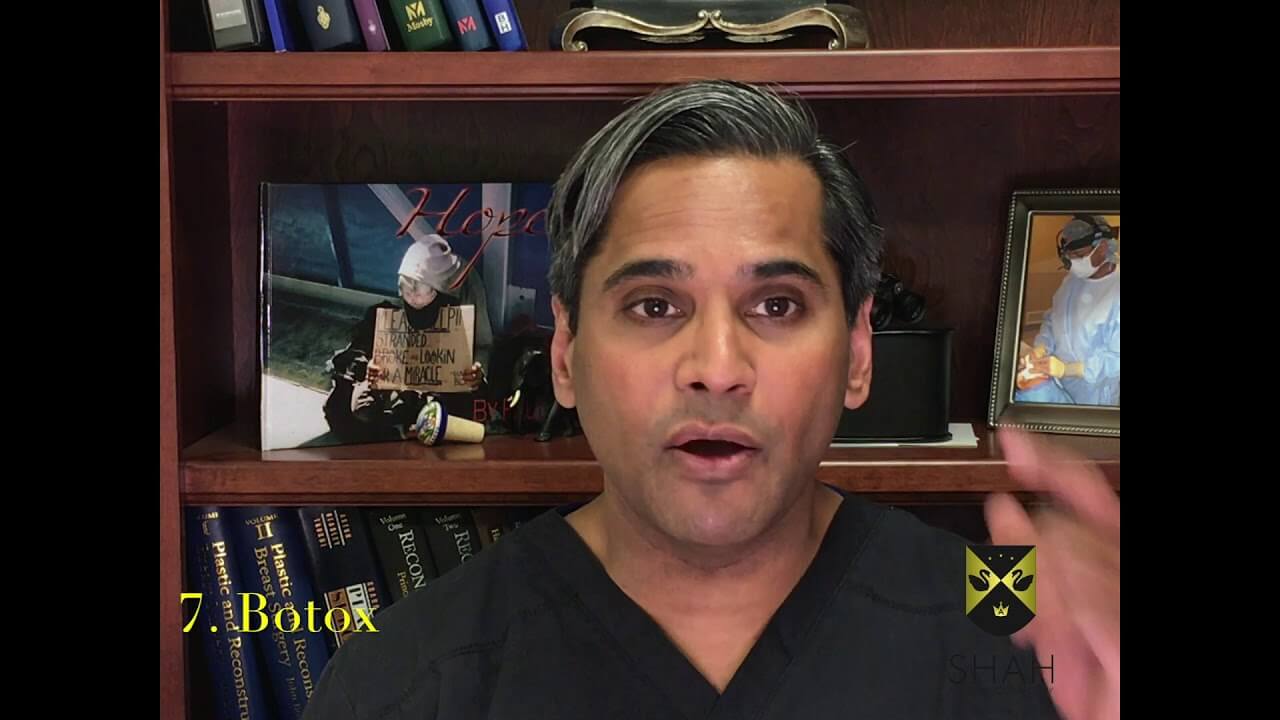
Prejuvenation: How Millenials Avoid the Plastic Surgeon's Knife
In this video Dr. Shah, Denver plastic surgeon, discusses the concept of Prejuvenation, or Pre-rejuvenation. In other words, he is talking about the things Millenial patients can do today to slow down their aging and maybe avoid going to the plastic surgeon’s or cosmetic dermatologist’s office anytime soon. He will let you know about ten things that can be done to slow the hands of time.
Homepage Intro Video
This is an intro video for my homepage, welcoming internet visitors to visit my site and contact us for any questions. Shah Aesthetic Surgery is a boutique facial and body aesthetic surgery practice. Manish H. Shah, M.D., FACS is board-certified by the American Board of Plastic Surgery.
Youtube Intro Video
This is Dr. Shah’s Youtube Channel Intro Video – Please SUBSCRIBE!
Top Ten Qualities to Look for in Choosing a Plastic Surgeon
In this video, Dr. Shah of Shah Aesthetic Surgery discusses ten different factors you should consider when choosing a plastic surgeon. An educated patient is a happy patient.
Patient Safety in Plastic and Cosmetic Surgery - Denver, CO
Patient safety in plastic and cosmetic surgery is of paramount importance. At Shah Aesthetic Surgery we make sure that a patient is a safe candidate for elective surgery before we ever proceed. Watch the video for some ideas on how we make sure patients are safe before undergoing surgery.
Manish Shah Aesthetic Surgery
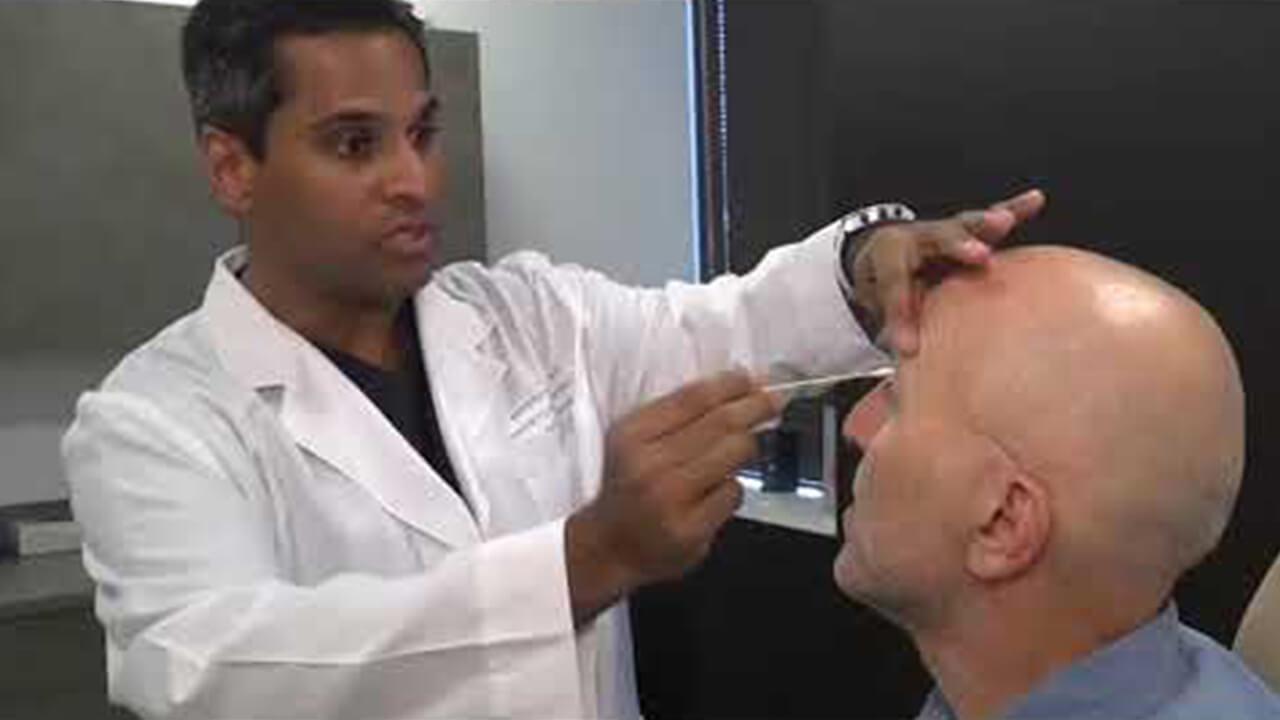
Manish Shah Aesthetic Surgery
Plastic Surgery Tips Intro
This video will intro my series of Plastic Surgery Tips to educate patients and improve their chances of having safe and successful plastic surgery procedures.
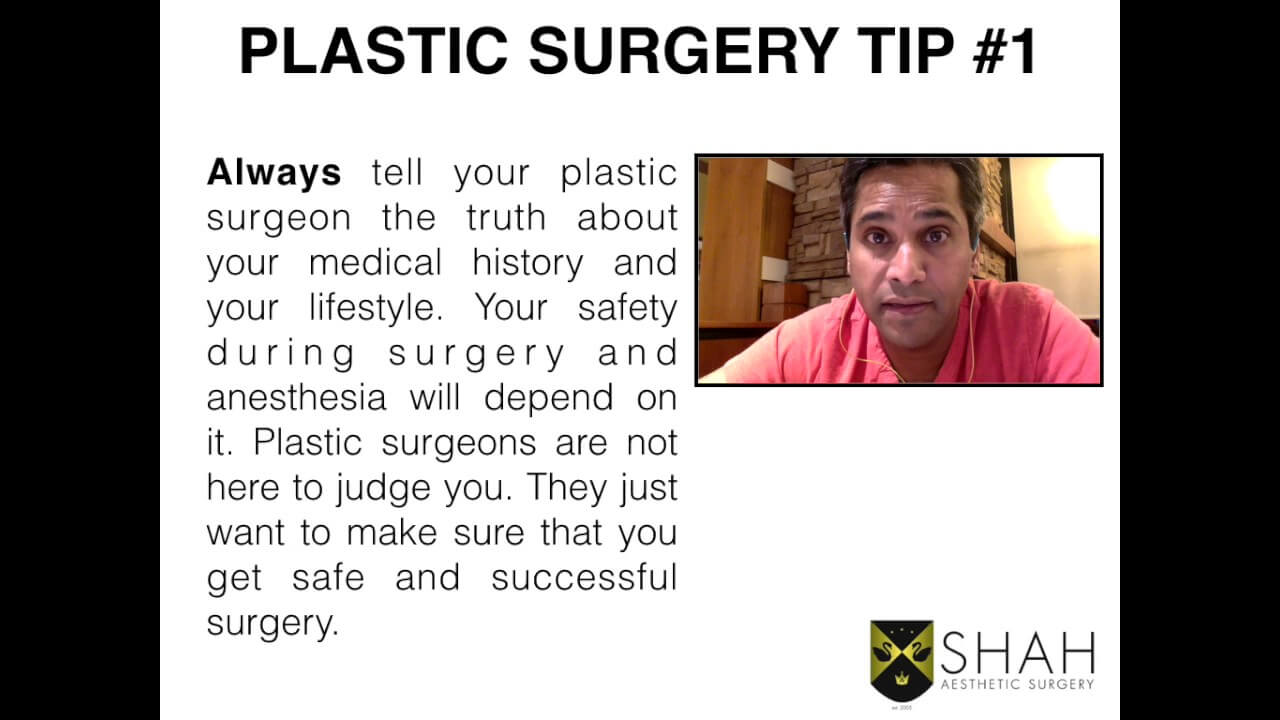
Plastic Surgery Tip #1
Plastic Surgery Tip #1 – Be honest with your plastic surgeon!


